A Breath of Fresh Air: Choosing the Right RV Black Tank Cleaner
The Low-Down on Holding Tanks: Your Guide to Cleanliness and Odor Control
Here’s a quick list of some of the basics you should know and understand about holding tanks. We will discuss them a little deeper down below. If you just want to get to the most important portion about the best RV Black Tank Cleaner click here
- Types of Holding Tanks: There are generally three types of tanks in a camper: the freshwater, the grey water, and the black water.
- Freshwater Tank: This is where the clean water that you’ll use for drinking, cooking, and showering is stored. The size of this tank varies depending on the RV, but it’s crucial to keep this water clean.
- Grey Water: The grey water tank holds wastewater that comes from your sinks and shower. This water usually contains soap residues, food particles, and similar types of waste. It’s called “grey” water because it can look cloudy or murky due to the contaminants.
- Black Water: This tank holds waste from the toilet. This waste is referred to as “black” water because of its potential to contain human waste, toilet paper, and other materials that can make the water very dark. It’s very important to handle black water carefully because it can contain harmful bacteria.
- Maintenance: Maintenance of these systems is crucial for both your comfort and the lifespan of your RV. This includes regular emptying and cleaning, particularly of the black water tank to avoid buildup and odours.
- Emptying the Tanks: The black water tank should always be emptied before the grey water tank. This is because the soapy water from the grey tank can help clean the residue from the hoses after the black tank has been emptied.
- Tank Treatments: Tank treatments or cleaners are used in the black water tank to help break down waste and prevent odors. There are many different products on the market, each with their own pros and cons.
- Sensors: Many RVs have built-in sensors that give you a readout of how full each tank is. However, these sensors can sometimes give false readings if waste or residue sticks to them. Regular cleaning helps prevent this issue.
Most RVs have one or two holding tanks. Most, but not all are set up that the toilet will drain to black and the sinks and shower will drain to grey. I say most, because every RV is a little different.
A lot of trailer showers drain into the black water tank, which is really annoying because your holding tank will fill up fast, and no one likes the chore of emptying the tanks. Many confused RVers have posted that their tub is filling with dirty water but they just emptied their tanks. Never assume anything in this RV life, no matter what the really sure person next to you says, they are not all the same!
Holding tanks are what makes it possible for us to get off the grid and go camping for a few days. Understanding your holding tanks will make your adventures a little bit easier. There is a learning curve here, try to be patient with yourself. The goal of this article is to take some of the guesswork out of your holding tanks and help you have a clean fresh camping experience.
Keep It Fresh: A Practical Guide to Managing Your RV’s Black Tank
I’ve never understood why some RV folks don’t use their own bathroom. I’m not judging, but we paid big bucks for these RVs why not use them fully?
With a few easy routines, you can use your onboard toilet and live odour free and happy. When I went full-time back in 2009 it never occurred to me that I wouldn’t use my own bathroom! I was lucky though, my 5th wheel required next to no holding tank maintenance. I’m not sure if it was just set up really well or if it was because I was stationary. But it NEVER stank. Could also be because I always used Happy Camper as my RV black tank cleaner. I also made sure to rinse the black tank every time I emptied it.
Something people don’t realize is that the grey water holding tank can be just as smelly, if not worse than the black water holding tank these treatments will work safely on your gray or black tanks.
Smell the Freedom, Not Your Tanks: A Guide to RV Holding Tank Maintenance
There are really easy things you can do to keep your RV smelling fresh. The first is to keep your black tank closed at all times. I know there are people out there that tell you they don’t and they never have problems. They are a very rare anomaly. Join some full time RV Facebook groups you will see many many posts about blocked RV toilets and poop pyramids. It’s not always because they left the black valve open, but it is definitely because they didn’t use enough water.
I’ve always kept my grey valve open when I have full hook ups. There are a few reasons why I do this, the first is that I have a washing machine and a dishwasher, both of these devices will cause my RV to flood if my grey tank is closed. It’s just too much pressure for the system and it will back wash. Yes, I learned this the hard way!
The second reason I leave my grey water open is that it fills up really fast and there is just no need to keep it closed. That being said, grey water can cause as much odour as black water. Some folks will report that it’s worse.
Think of your grey water as holding the same products; dirty old decomposing food and grease live in there. It gets nasty. So just before you go to dump your black tank, maybe the day before, close your grey tank (don’t do laundry now, don’t forget it’s closed, it sucks when you forget) let it fill up a bit. Now is a great time to add a little cleaner additive, you don’t have to do this every time, once every few months or so should be more than enough. We discuss the best RV black tank cleaner a little bit later. Add a little more clean water to the grey holding tank.
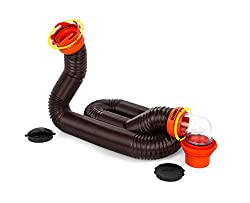
Now pull your black tank lever. I highly recommend having a connection like this so you can see that things are flowing nicely and also you can tell when you have rinsed enough. I usually back flush or fill and empty a few times after dump your black tank. Close your black tank.
Now is the time to empty your grey water, which helps keep your stinky slinky from being too stinky. The stinky slinky is the cutesy name we RVers gave to this thing. IMAGE HERE. Go ahead and leave your grey open, it won’t hurt anything.
Keep It Fresh: A Practical Guide to RV Black Tank Cleaning
When you empty your tank rinse it or flush it out, at least once if you can. There are some great tools you can get to help with this. Back flushing systems like this one LINK HERE. A toilet wand like this one. My Class A has a back flush built in but I will still occasionally hook the toilet wand up to my shower and give it a good flush out. It’s important to remember not to use your fresh water hose for any of these black water flush cleaning tools. You want to avoid any cross-contamination at all costs. This is the main reason freshwater hoses are a different colour. That way if you’re borrowing from a neighbour you are less likely to borrow the wrong hose.
After rinsing and flushing it’s important to start with a decent amount of water. Most companies recommend at least a gallon. I happen to know if I run the faucet in my bathroom sink for 20 minutes it will read as full on my sensor readout. When I add my RV black tank cleaner of choice, I fill the bowl and swirl the product around to help it disolve this is also giving everything a decent clean. I then run the water in my bathroom sink for 5 minutes. So roughly 1/4 tank of water and chemicals to start your empty tank off right.
When flushing a number 1 you don’t have to worry really about adding lots of water, but for a number 2 you really should be counting to at least three when you flush. A good solid one Mississippi style of counting.
Sensors: The Invisible Caretakers of Your RV Tank System
In your RV holding tanks, sensors play an indispensable role. They are your invisible caretakers, responsible for monitoring the tank’s level of waste and wastewater. These tiny devices, usually installed at different levels in the tank, detect and provide real-time information about how full or empty your tanks are. This data is extremely important because it helps you avoid overfilling, which can lead to a whole host of problems like bad odours, leaks, and even tank damage.
However, while sensors are essential components of your system, they’re not infallible. One common issue RVers often face is the problem of false readings. False readings occur when your tank sensors indicate that the tank is full when, in reality, it’s empty or vice versa. This typically happens due to waste buildup or mineral deposits on the sensors themselves, leading them to believe the tank is fuller than it actually is.
False readings can cause a lot of frustration for campers, as they can lead you to believe you need to empty your tank when you don’t, or worse, cause you to overfill your tank because you thought it was emptier than it was. That’s why regular cleaning and maintenance, including sensor cleaning or using a reliable cleaner, is vital. It ensures the sensors perform optimally, providing accurate readings that let you manage your tanks effectively.
Sensing the Problem: The Role of Sensors in Maintaining Your Black Tank
Rinsing your tanks as we talked about is the easiest way to keep your sensors working properly. I have also tried driving around with my tank about halfway full and some ‘Happy Camper’ deep cleansing solution in there. I like to do a deep cleansing process every time I move my big rig. I make sure it’s really empty and really clean before I hit the road with half a tank and deep cleanser.
If your sensor doesn’t work you can buy aftermarket tank sensors that get really reviews, check out THIS ONE WE LIKE. A lot of RV toilets will burp when they are full, this is just something you learn to see. When the system isn’t almost full the water will flush down no bubble, no burp, just goes straight down. On my Class A when it’s full the water forms a visible bubble and I know it needs to be dumped.
I prefer using this to judge when it’s full because the sensor reads full well before it actually is and I don’t like to empty it until I really have to, that being said if you wait till the burping stage you are at the point where it NEEDS to be emptied now or you are risking overflowing it or putting stress on the weight of the tank itself. There is almost a zero window. A burping tank is a full tank.
Odor Overload: Unmasking the Common Culprits Behind RV Black Tank Troubles
Picture this: You’re relaxing inside your RV after a beautiful day of exploring, when suddenly, you’re hit with a pungent smell that makes your nose crinkle. You quickly realize that your RV black tank is playing the villain and spreading the foul odor inside your mobile abode. It’s an olfactory nightmare for any RVer, but one that’s all too common. So what causes these not-so-pleasant surprises?
The primary reason is, of course, the nature of the waste that goes into the black tank. Human waste and toilet paper are biodegradable, but they don’t break down instantly. Without the help of some form of treatment, the waste will start to decompose and generate a smell that’s far from pleasant. If you’ve ever used one of those plastic portapotties you will notice as long as there is lots of water they usually smell just fine, it’s when there is more waste than water that things start to stink!
Another common issue is the lack of enough water. Water helps dilute waste, and without sufficient water, the waste will stick to the bottom of the tank, causing both smell and potential clogs. Speaking of clogs, using too much toilet paper that doesn’t break down easily can lead to blockages, causing your system to fill faster and again contributing to the odour.
I have never used camper-specific toilet paper, I hate it. I use regular toilet paper I’m just really careful about tearing it off into smaller groups to preemptively break down the paper. I have a three-square rule, ask any of my friends, they all get the lecture when they come over. I actually have made signs! Order yours here. Stop lecturing your guests, let them read the rules.
Remember the sensors we discussed earlier? Well, if they get covered with waste or toilet paper, they can give you a false reading of “full”, making you believe that it’s at capacity causing the stink, not the waste stuck on the sensors. Empty, Rinse, Repeat, say it with me!
Something we RVers don’t always think about is turning off the bathroom fan when you flush it. Many RV fans can be set to suck air out or pull air in, if your fan is sucking air out, when you flush your toilet you are opening the black tank with all it’s fun scents and the fan might be sucking all that lovely aroma right out and into your RV. Turn off all fans when you flush!!
Finally, improper ventilation can also be the culprit behind your black stank (pun intended) issues. If your vent is blocked or not functioning properly, the gas formed by the decomposing waste will not escape, leading to an increased smell. Every holding tank has an exhaust pipe, if you’re having smell issues it’s important to make sure this isn’t blocked.
The good news is, every problem has a solution, and these black stank issues are no exception. In the next part, we’ll reveal our top 11 RV additive treatments that will help you tackle these smelly problems head-on! Stay tuned!
Clearing the Air: Unveiling the Top 11 Champions of RV Tank Treatments
Choosing Your Champion: Decoding the Criteria for Selecting The Best RV Black Tank Treatment
When it comes to finding the perfect black tank cleaner, there are a few key elements to consider. Here, we break down the essential factors you should look at when choosing the right treatment for your camper.
- Effectiveness: The top priority for any cleaner is its ability to do the job well. It should effectively break down waste, clear sensors, and help eliminate odors. Check out user reviews and ratings to gauge its performance.
- Eco-Friendliness: In an era where we’re becoming more conscious of our impact on the environment, selecting a cleaner that is biodegradable and non-toxic is an excellent way to lessen your footprint. Eco-friendly cleaners often use natural enzymes or bacteria to break down waste.
- Cost-Effectiveness: While it’s important to have a cleaner that performs well, you also want it to be reasonably priced. Look for a product that offers a good balance between cost and effectiveness.
- Ease of Use: The whole cleaning process should be as painless as possible. Opt for a cleaner that is easy to use, with clear instructions and minimal steps required.
- Suitability for your Camper and Lifestyle: Different campers and lifestyles require different treatments. Consider the size and model of your RV, the frequency of use, your travel locations, and climate when selecting your cleaner.
Remember, the best RV black tank cleaner for you may not be the highest priced or the most popular one. It’s about finding a solution that meets your unique needs and makes your life smoother and fresher. Happy choosing! Here’s my list to help you with a starting point.
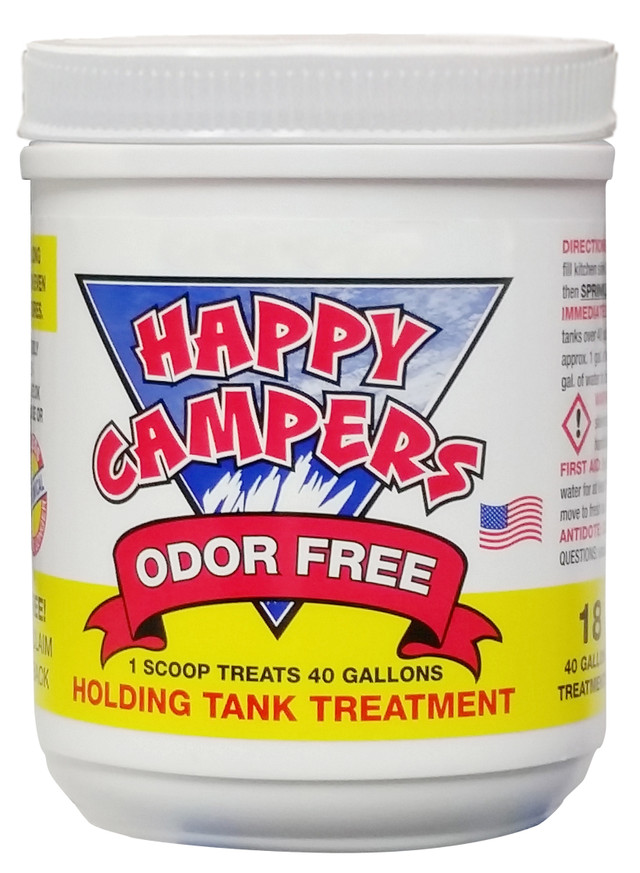
Happy Camper
- eliminates odours,
- liquifies waste and most toilet papers,
- one treatment lasts untill you dump
- Prevents buildup
- prevents clogs
- septic safe
- safe on seals and valves
- 21,000 of 5 star reviews
- made in Canada
- 64 treatments for under $60
- I personally attest to this product working
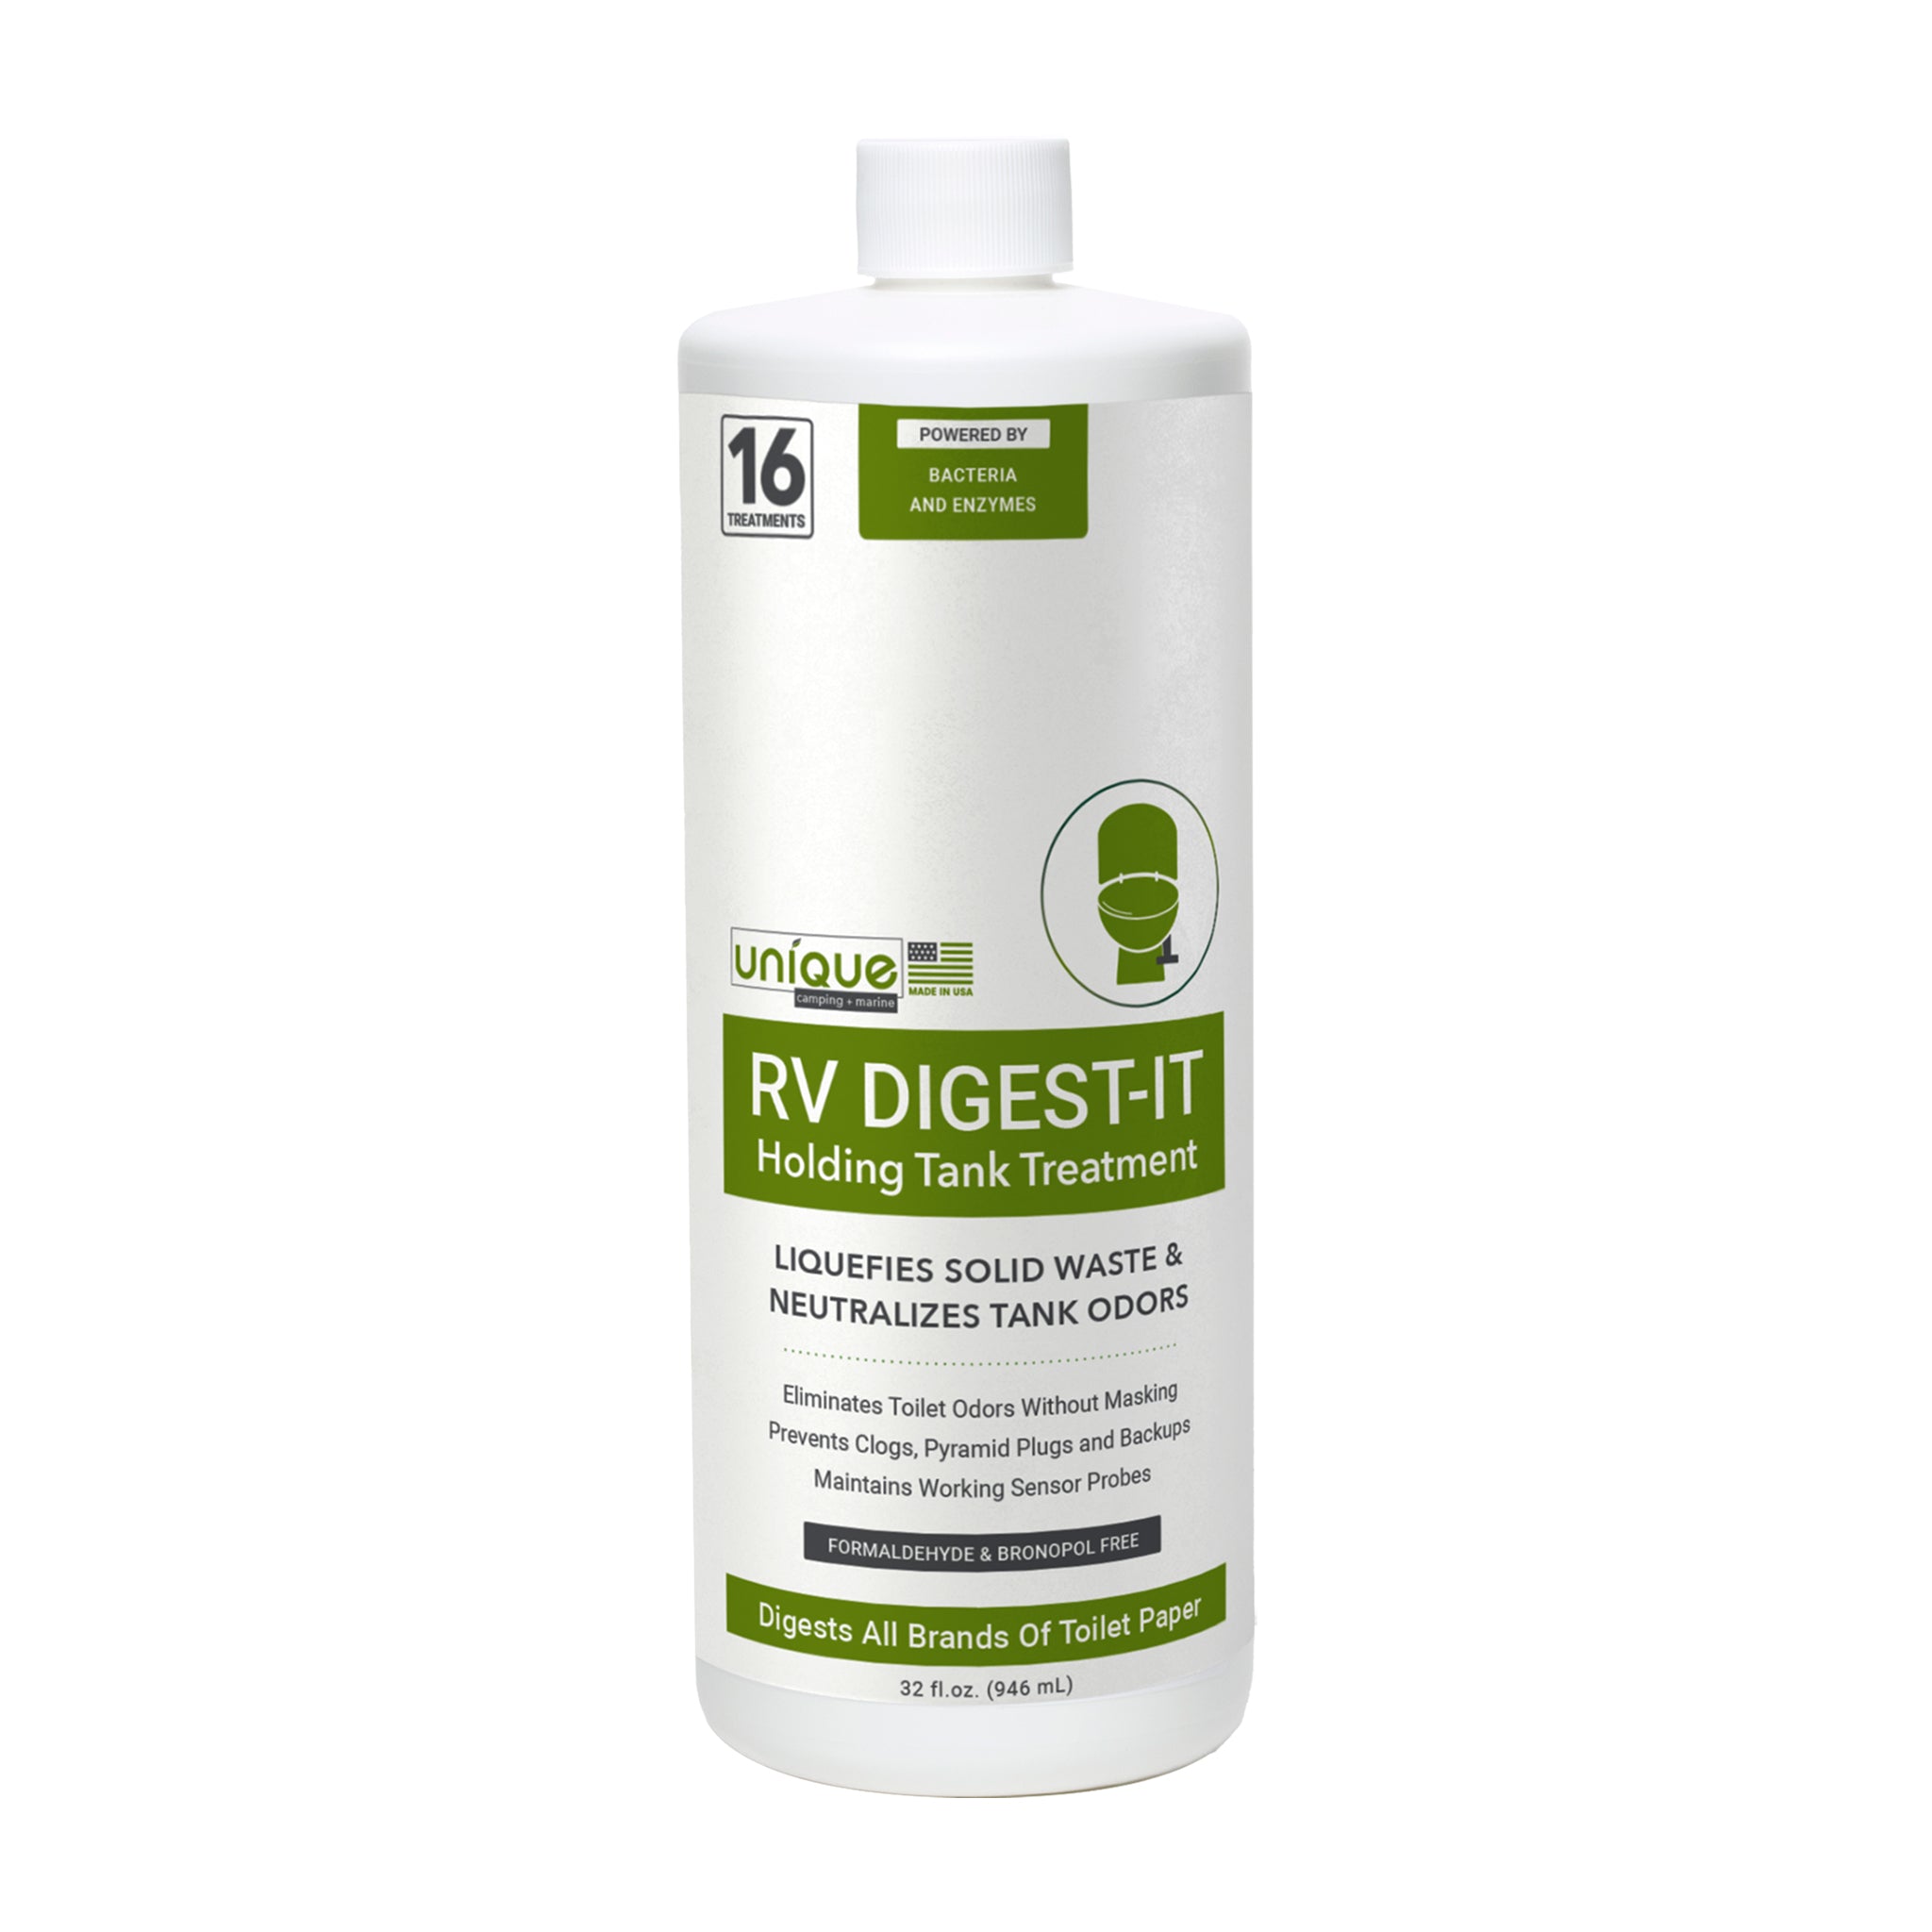
Unique RV Digest-it
- eliminates odours
- liquifies waste and all toilet papers
- Prevents buildup on sensors
- Prevents clogs and backups
- thousands of 5 star reviews
- satisfaction Guarantee
- made in the US
- 64 treatments for under $50
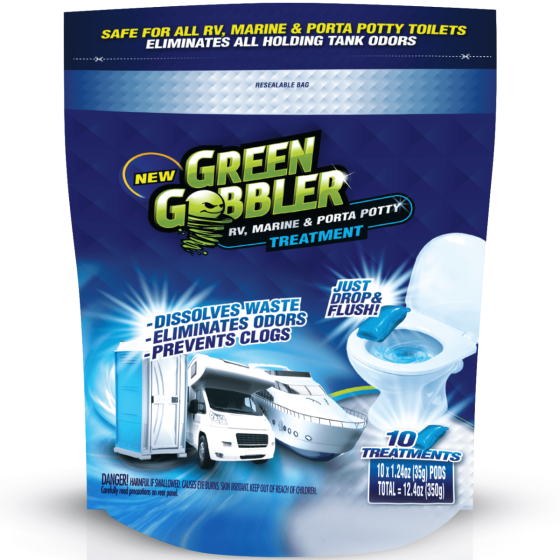
Green Gobbler
- eliminates odours
- digests waste
- Prevents clogs
- 73% of almost 2,000 reviews gave 5stars
- 10 treatments for $12.
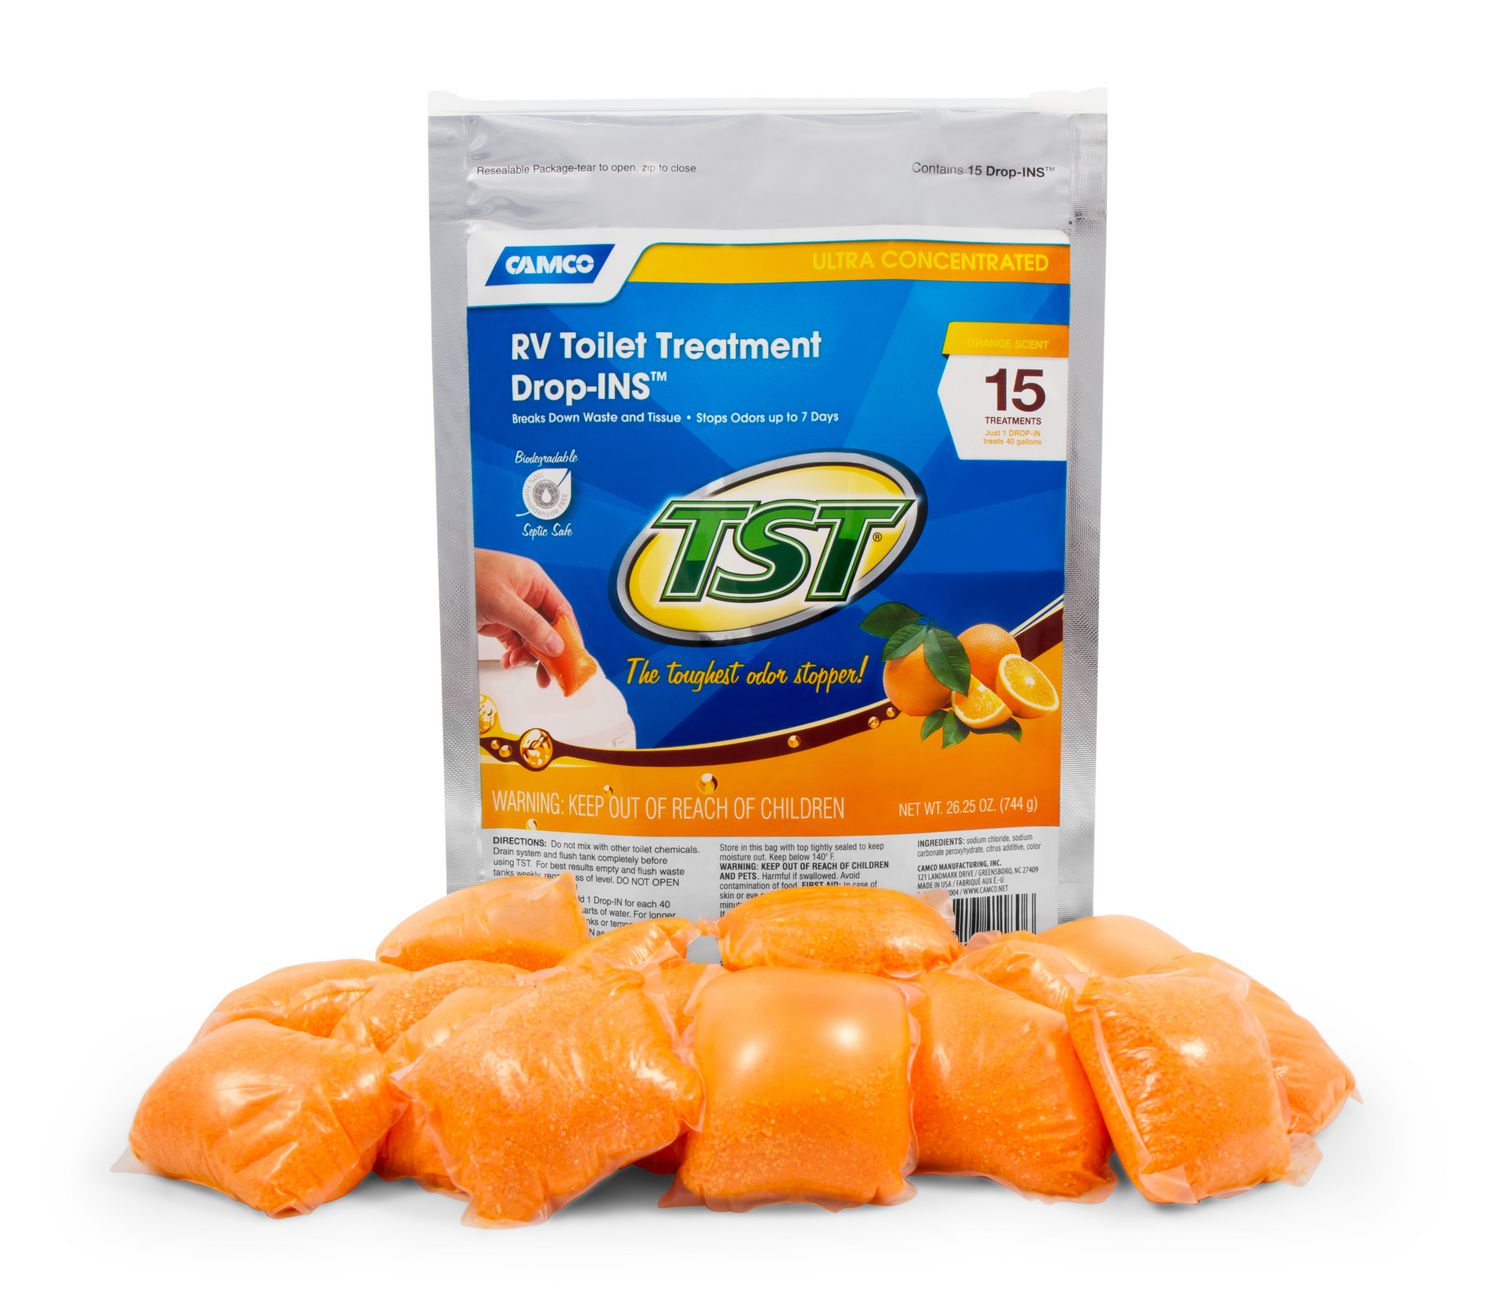
Camco TST Max
- claims to eliminate odours
- one pod treats 40 gallon tank
- Different Scent options
- stops odours for 7 days
- 30 pods for $20
- This did not work for me, but some folks swear by it
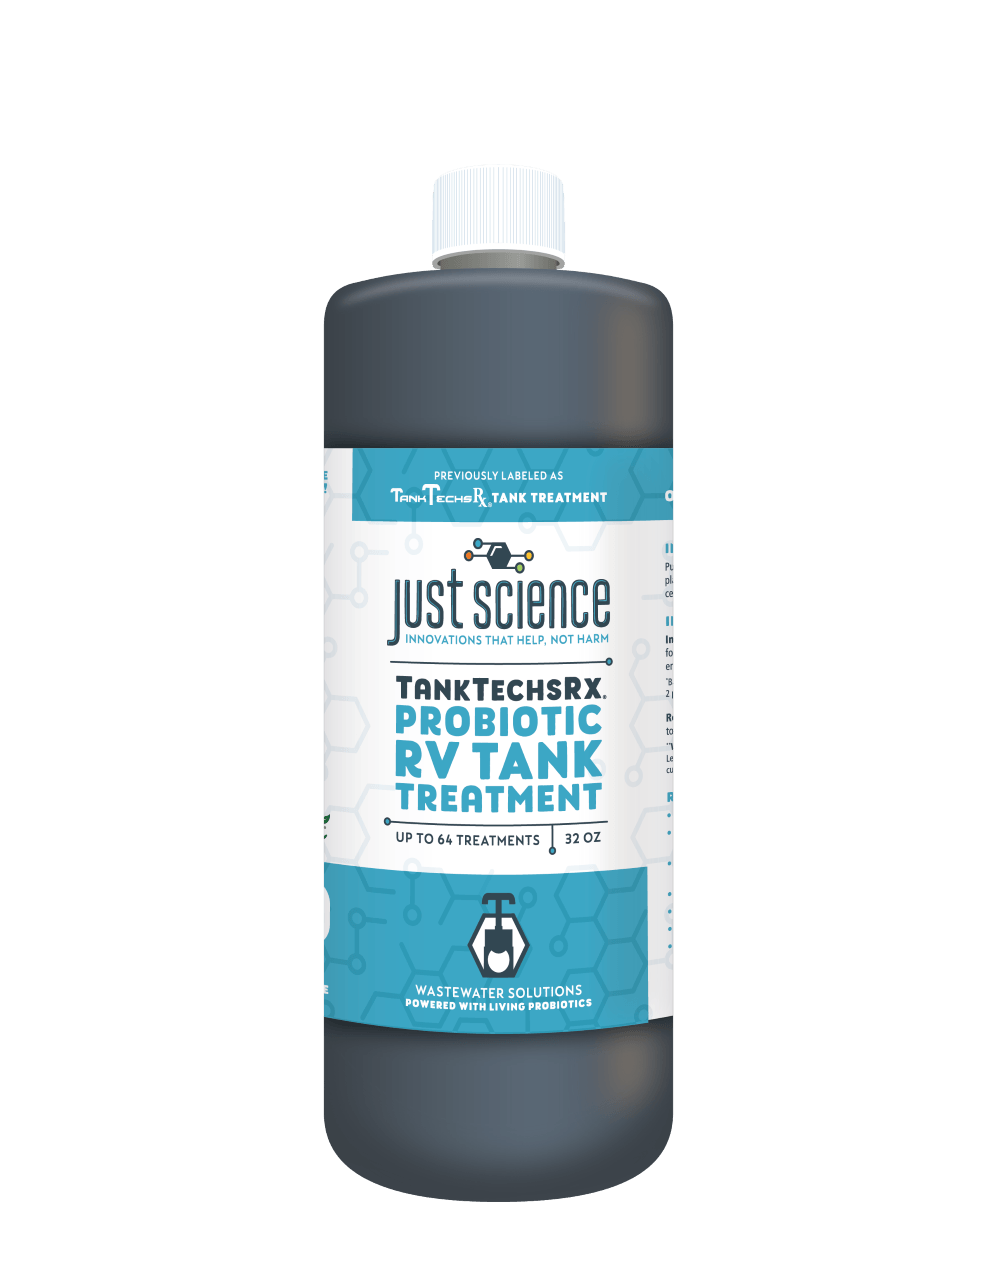
Tanks Techs RX
- eliminates odours
- living microorganisms clean tanks
- liquifies waste and heavy sludge
- Prevents buildup
- 32oz $40
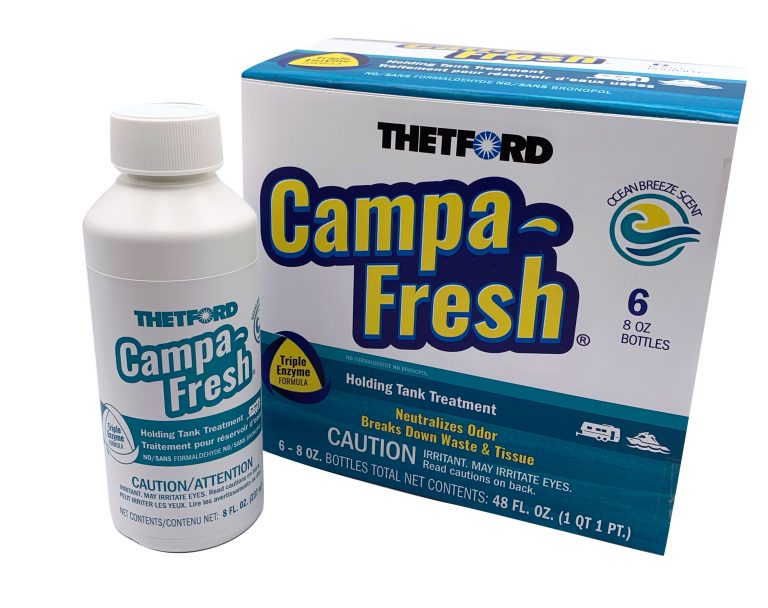
Thetford Campa fresh
- neutralizes odours
- Breaks down waste
- Prevents clumping and clogging
- septic safe
- 11 or so 5star reviews
- Hard to find online

Walex Porta-Pak
- Controls odours
- pods disolve quickly
- rapidly breaks down paper and waste
- last up to 1 week
- thousands of 5 star reviews
- 10 treatments for under $13

Thetford Aqua Kem/Max
- Neutralizes odours
- breaksdown waste to prevent clumping
- enzymes and probiotics
- septic safe
- Scent and method options
- made in the US
- 16 treatments for under $21

Black Diamond get serious
- eliminates odours
- Designed for Septic systems
- Prevents buildup breaksdown waste
- 1gallon $25
10th Place: The Geo Method
Some folks think this is a nice cheap DIY method of keeping your tanks clean and scent free. I did try this that horrible summer I mentioned earlier and it didn’t work for my Motorhome in the summer heat. It was mostly fine in the winter, but I wouldn’t go back to this method. Not ever. It does work for many people though.
11th Place: Borax and Dawn
This is another method I hear talked about it some of my RV groups. I’ve never personally tried it, but this website debunks it and I’m just not optimistic that it would work for my rig at all. I know this website sells it’s own product so we shouldn’t trust it 100%, but based on my personal experienced, I agree. Check them out by clicking here.
Break It Down: Clearing Obstructions in Your RV Black Tank
If you’ve spent any amount of time RVing, you might have come face to face with the dreaded “poop pyramid.” This unfortunate occurrence, as comical as it sounds, is a common issue faced by RVers worldwide. It’s formed when solid waste and toilet paper don’t break down properly in the black tank, building up into a veritable ‘mountain’ of blockage.
- Use a Tank Cleaning Wand: Tank cleaning wands are designed to be inserted into your RV’s toilet, reaching down into the black tank. They typically feature a sprayer at the end that blasts water at high pressure to dislodge any blockages or build-up.
- Try a Tank Treatment Product: There are many tank treatment products on the market that can help to break down waste and dissolve toilet paper. These can be particularly useful if you’re dealing with a stubborn blockage.
- Ice Cube Method: Some RVers swear by the ice cube method. The idea is to empty your black tank as much as possible, then add a bag of ice and a small amount of water. As you drive around, the ice cubes will slosh around in the tank, potentially breaking up any blockages. Please note that this method has mixed reviews and may not work for all situations.
- Use a Professional Service: If all else fails, or if the blockage is particularly severe, you might need to use a professional RV tank cleaning service. These services have specialized equipment and expertise to deal with stubborn black tank issues.
- Green Gobbler: This is a powdered foaming toilet unclogger. It gets really good reviews and is septic safe. Use at your own risk, but If you have the dreaded poop pyramid this is worth a shot. Here’s a quck link for Amazon.
Remember, prevention is key. Regularly use tank treatments and always use plenty of water when flushing.
Stay Ahead of the Stink: The Essential Guide to Regular RV Tank Maintenance
I know when I first bought my RV I wanted everything to be fresh and new and not some nasty previous owners left overs. Happy Camper makes something called “Extreme Holding Tank Cleaner”. It’s a great idea to use this once a year, maybe add it to your dewinterizing checklist, or your spring maintenance spreadsheet.de-winterizing. It’s really easy to use and gets amazing reviews. Check it out on the Manufacturers website here. It’s harder to find on Amazon, but give this link a shot.

You should know that I am not an affiliate of Happy Camper they did not give me anything to write this. I just have had a great experience with their products and recommend them for that reason.
I can’t stress enough how much you won’t regret spending a few dollars a month to treat your holding tanks properly. There is absolutely nothing worse than having someone drop by and your camper smells like an outhouse.
Here’s our easy-to-follow, stench-free guide to using RV black tank cleaners the right way.
Step 1: Empty Your Tank: Start with a clean slate. Make sure your black tank is thoroughly emptied before you start any cleaning process. Use your RV’s built-in system or a portable waste tote to dispose of the waste at a designated dump station.
Step 2: Choose Your Cleaner: Not all cleaners are made equal. Some are chemical-based, while others use natural enzymes or bacteria.
Step 3: Follow Instructions: Different cleaners have different instructions. Some may need to be mixed with water before pouring into the toilet. Read the label carefully to ensure optimal results.
Step 4: Let It Work Its Magic: Patience is key. Let the cleaner sit for as long as the instructions specify, giving it ample time to break down waste and clear the sensors. I sometimes like to fill my tank with additives and let it sit overnight.
Step 5: Rinse and Repeat: After the cleaner has done its job, rinse with water. Depending on the state of your system, you might need to repeat the process.
Step 6: Maintenance is Key: Regular cleaning prevents build-ups, blocks, and the accompanying odours. Make this a part of your RV routine and your black tank will thank you.
As stated earlier, it’s important to follow the directions of each individual cleaner. With Happy Camper, they recommend filling your toilet bowl with water and adding the proper amount for your tank size to the bowl. Grab your toilet brush and swirl it around, use this time to clean under the rim and also clean your toilet brush. Different RVs have different-sized tanks, it’s important to get to know your RV and the specs associated with your particular model.
Remember, using an additive/cleaner properly not only keeps your RV smelling fresh but also prolongs the life of your tank, saving you from potentially expensive repairs down the road. So, put on those gloves and let’s get cleaning!
The Unskippable Routine: Importance of Regular RV Tank Cleaning
A few summers ago I ran out of Happy Camper, as we know by now this is my favourite tank additive, well I ran out and it was absolutely the worst summer of my RVing life. The smell was unbearable. I tried all the things. I went to my local camping supply store and bought a few different additives, the Camco one, the TSP one, I tried them all. I tried the GEO method and absolutely nothing touched the horrific odours. Sorry for oversharing, but I had never experienced anything like this before. It was brutal. I also didn’t have full hookups so I couldn’t rinse between emptying as I was paying a pump truck to come and empty the tanks.
After a few months of suffering, I went and bought some Happy Camper, and let me say, I will NEVER be without it again. I am going to try this Unique RV Digest after watching the video below I’m intrigued. I have had a great experience with Happy Camper so for me it will boil down to a cost analysis.
Sprucing up Your Journey: The Last Word on RV Black Tank Maintenance
Keeping your onboard ‘septic’ system in tip-top shape is an essential part of your journey, ensuring your mobile abode remains a comfortable and odour-free place. With regular cleaning and maintenance, you can prevent unpleasant surprises and keep your system working smoothly.
Remember, every RV is unique – what works for one may not work for another. Explore, experiment, and discover the cleaning routine and products that best suit your needs and lifestyle. Consider the effectiveness, eco-friendliness, cost-effectiveness, and suitability when selecting your treatments.
We’ve shared our top picks for camper toilet treatments, but what about you? Do you have a tried and true product or a cleaning tip to share? We’d love to hear about your experiences and any advice you might have for your fellow travellers. Drop a comment below or share this post with your tips and tricks. After all, we’re all on this journey together. Happy and clean RVing!


