Winter RV Living
So you’re full-time in an RV and it’s winter!!!?? Now, what do you do? How to prepare your RV for winter living? I have found it’s a lot easier to be full-time in the winter if you’re stationary. I spend most of my time in Canada on Vancouver Island, I’m the first to admit we don’t really have winter here like the rest of Canada. Yes, it snows, and yes it occasionally gets below zero but not for more than a few days and maybe a couple of times a year. So anyone out there thinking I’m crazy to full time in Canada it’s the California of Canada here on Vancouver Island. I spent one winter in Alberta though, so I really do know what I’m talking about! We had several days of minus 40 Celsius, it seemed mostly to hover around minus 25 or so. Brrrrrrrr Baby, Brrrrrrrrrr.
Stationary Living in Your RV – The Basics
Usually, if you’re stationary you have full hookups, not always, but most of the time. Full hookup means power, water, and septic for anyone just starting out exploring this world of winter RV dwelling.
Step 1. Winter Package
The first thing you want to do when shopping for your rig is make sure you buy an RV with a four-season package. Winter RV living is hard enough without having the right rig to begin with.
A four season RV can also sometimes referred to as a winter package. It will often include heated tanks or an enclosed basement that your furnace ducting runs through. Your RV should for sure have double-paned windows. The winter package or arctic package doesn’t mean you don’t have to do the extra work to live full-time all winter, you still need to take some extra steps if you are parked where it gets below freezing.
Step 2. Supplemental Heat
You will probably want to supplement your furnace with some kind of electric heat if you have access to power. Propane bills can get pretty high in the winter. Here’s my post listing all the different kinds of space heaters available for RV living. Everything from the MR. Buddy to the Dyson.
Step 3. Skirting
The next thing you want to consider is skirting your rig, if your RV park allows it. Check your RV park rules some require you to be skirted, and some may have rules against it, some may require you use certain materials, and some might not care if you use bails of hay!
There is some really great skirting from EZ snap, it looks good and it’s easy to remove and store for those who are stationary but also a great option for those who move around a bit more. It’s reasonably priced and it looks good. Check out their gallery here.
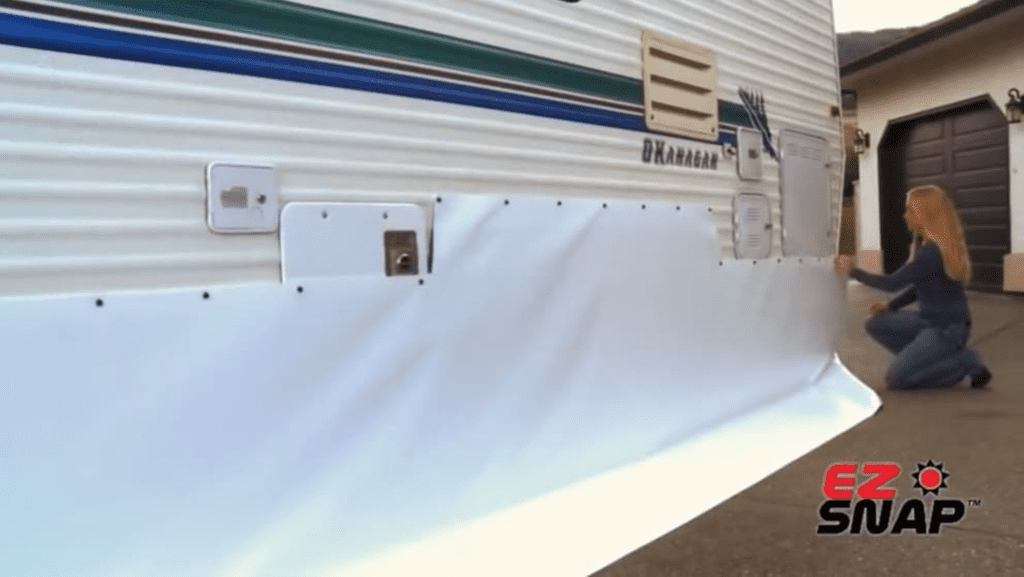
Here’s a video demonstrating how to DIY one style of skirting for your RV.
DIY RV skirting with foam board | Preparing for winter in RV
When my dad and I skirted my 5th wheel, I say my dad and I, but really he did all the work. He framed it in and used thick black tarping. It was fairly cheap and my Dad is one of those guys who knows a bit about everything. He’s super handy and has been around the block. Basically, the purpose of skirting your rv is to keep the cold air from circulating underneath it, you could also put a source of heat under there and really take the chill out of the air. Something as simple as a trouble light in a wire cage could be just enough to take the edge off. Make sure you put some rodent traps in this now super cozy for the winter space(check out our related post about repelling rodents)! Little critters are just like us and they want to come out of the cold!
Step 4. Protect Your Water Source
Next, you want to make sure your water spigot and your hose won’t freeze. For the spigot, it can be as simple as wrapping it in a towel and securing it with duct tape, not pretty but it should be enough to take the edge off. Some RV parks will turn the water off during the really cold months and if that’s the case you need to make sure your onboard water tank is full and safe from freezing. You can wrap the spigot in heat tape, you can put an upside-down tote over it and put a trouble light in there. Really there are many cheap and effective choices for this. Feel free to comment below if you have any questions.
For the hose, you can buy a heated hose from amazon or your local building supply store. They aren’t cheap but if you want running water through the winter it’s a necessity. You can DIY your own heated hose using pipe heating cable and insulated tubing.
Check out this video outlining the pros and cons of each….
RV Heated Hose VS DIY Heated Hose For Your RV!
Step 5. Protect Your Water Inlet
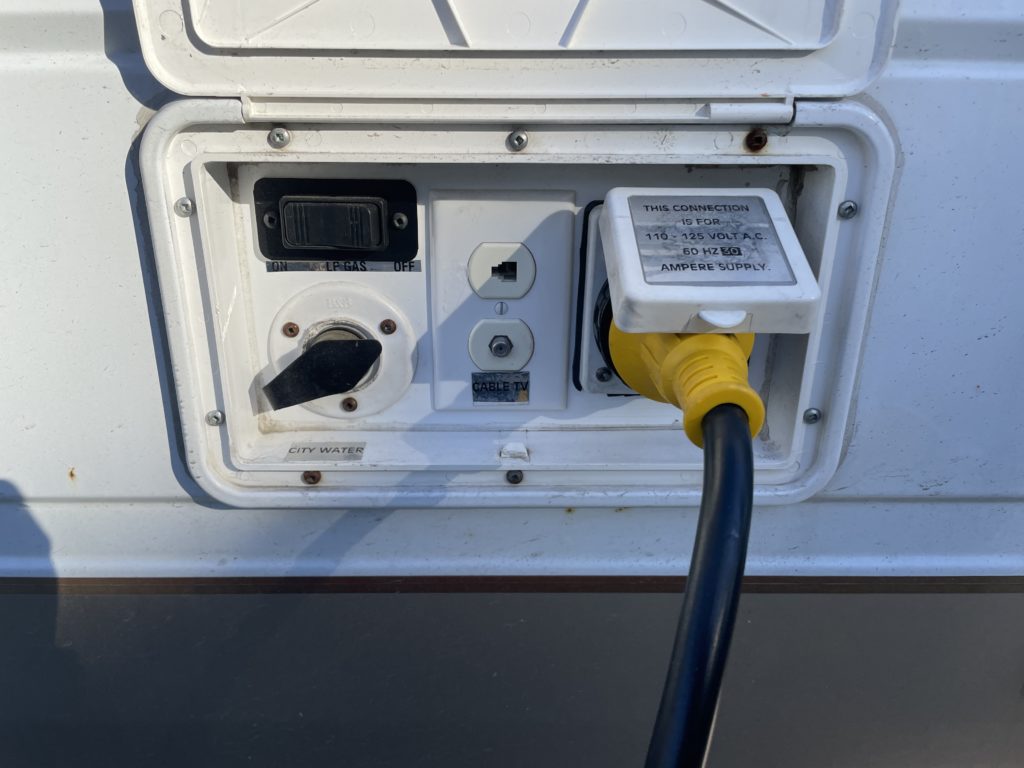
You are also going to want to make sure the water inlet compartment has some heat to it, I recommend putting a thermostat in this compartment telling you exactly how cold it is. A weather thermometer or indoor outdoor weather station with multiple monitors is a really great gadget to have. You can put one in your compartment and know if it’s going to freeze or not. Not all RVs have an enclosed compartment so you may have to wrap some heat tape around your city water intake or diy yourself an enclosure.
Here’s my AClass compartment versus my BClass compartment. I’m never stationary in the BClass though, so I winterize it and have no onboard running water for the winter months.

You should be aware that your sewer pipe will also not enjoy freezing temperatures. It will get brittle and crack, you should consider replacing it every spring if you are exposing it to cold weather. I often run my septic hose off the ground in rain gutter, if there is a leak this will help contain it, and it also will help keep it flat and the poop flowing.
Step 6. Insulate Windows
For full time RV living in Canada I recommend doing an extra level of insulation on your windows. You can use reflectix. It’s really easy to work with and easy to take out when the sun is up and warming your life again. I use a clear plastic film and double-sided tape on my windows, it helps regulate the temperature in my RV in winter and in summer! Something like this window film shrink kit would do the trick. If you do a decent job you can literally leave it up all year round so your air conditioner won’t have to work as hard. I also pinned blankets up around my entrance door I can always feel a draft from the door frame and also the area below it is exposed to the elements because my AClass is not skirted and I was only semi-stationary when I was living in it in Alberta.

FAQ
Many people wonder exactly how to prepare an RV for winter living and if you can still shower and use your toilet when you’re winter camping. You can, you definitely can. If your rig is skirted you should be able to keep your tanks from freezing, but if your tanks are exposed you would want to include some RV friendly anti-freeze in your black and grey tanks. Make sure you get the pink stuff if you winterize your rig you can tell when it’s flowing through your plumbing system. Winterizing your plumbing is a fairly simple process but you want to follow the directions specific to your RV. Usually, a quick google search or reading your RV owners handbook can tell you what steps to take.
Here’s a YouTube video that covers the basics.
Winterize Your RV Camper with Antifreeze for Cold Weather, Blowing Out Travel Trailer Water Lines
Tips and Tricks

If you are skirted and insulated you should be able to use all of your onboard systems all winter, keep track of the temperature where your tanks are. If it’s really cold, fill up your onboard water and disconnect your hose. Keep the hose inside where it’s warm. If your hose freezes, bring it in, put it in the tub and turn on a space heater in there. It should thaw out in no time.
If you are winterized and your onboard water is not running you can still use your toilet. When. A cold snap is coming up empty both your black and your grey tanks completely, give them a good rinse if you can. Then add a gallon to each of them you can add by pouring directly down the toilet, your shower and your kitchen sink. The pink antifreeze isn’t overly expensive so don’t be stingy!
Keep a mixture of RV antifreeze and water in your bathroom. Put a little in the bowl before you go and run some through when you flush. I keep a trigger sprayer bottle in my Campervan bathroom because it’s fully winterized and I have no onboard water in winter. I mix dish soap and anti freeze, and small amount of water and spray the bowl before and after use.
Don’t forget to leave the cupboard doors open if there is plumbing in there it helps the warmth of your living space keep your pipes from freezing. Some RV folks recommend a diesel parking heater, I have had a bit of a challenge with mine in the van read about that here. Honestly, it’s working well enough for me right now in the van and If I were spending another winter in Canaa I would consider putting one in the basement of my Big Beast. It wasn’t an easy thing, it has been challenging to get it to work well, but the heat it gives off is lovely and reasonably priced. The floors to this big beast are so cold on your toes in the winter.

I try to avoid number two in my camper van in the winter mainly because I don’t have access to water and when I’m emptying my tanks it’s a lot harder to flush the black tanks after emptying them. A healthy black tank makes for a happy camper. Rinsing your black tank every time means it’s cleaner but like I said access to water when winterized is a winter camping challenge! If you are doing your own RV build I recommend reading Everything You Need to Know About RV Toilets.
One item some folks might consider to be a luxury is a heated mattress pad or blanket read my review here. I’ll tell you when you are getting ready for bed, turn that heated mattress pad on and when you get in you will be so happy!!!! They aren’t cheap, but they are worth it in my opinion. I tend to be quite thrifty and keeping my bed warm is a heck of a lot cheaper than keeping my whole bedroom warm. I also like that you can get them in dual temperature control I will keep one side of the bed warm and the other cold, that way I can choose through the night how toasty warm I want to be. A side perk is that my dogs LOVE it. They will curl up on the warm side snoring all darn night happy as little pigs in a warm blanket.
Winter RV Living On The Move
For spending the winter living in my BClass camper van, I have an electric blanket that I put under my sheet, my mattress is an odd shape and the blanket works just fine for me. This is supposed to be my last winter here and I hadn’t planned on boondocking in the van it just kind of happened. If I spend another winter in it I will for sure invest in a heated mattress pad but that is not the winter I’m planning for! Manifesting snowbird aka winter RV living down south! Here’s a picture of my dogs enjoying the heated blanket in my old camper van. I bought it because the interior of my Leisure Travel was this same teal blue/aquamarine. It was also important that I can control the heat and time. This exact blanket is not available on amazon right now I bought it in 2020.
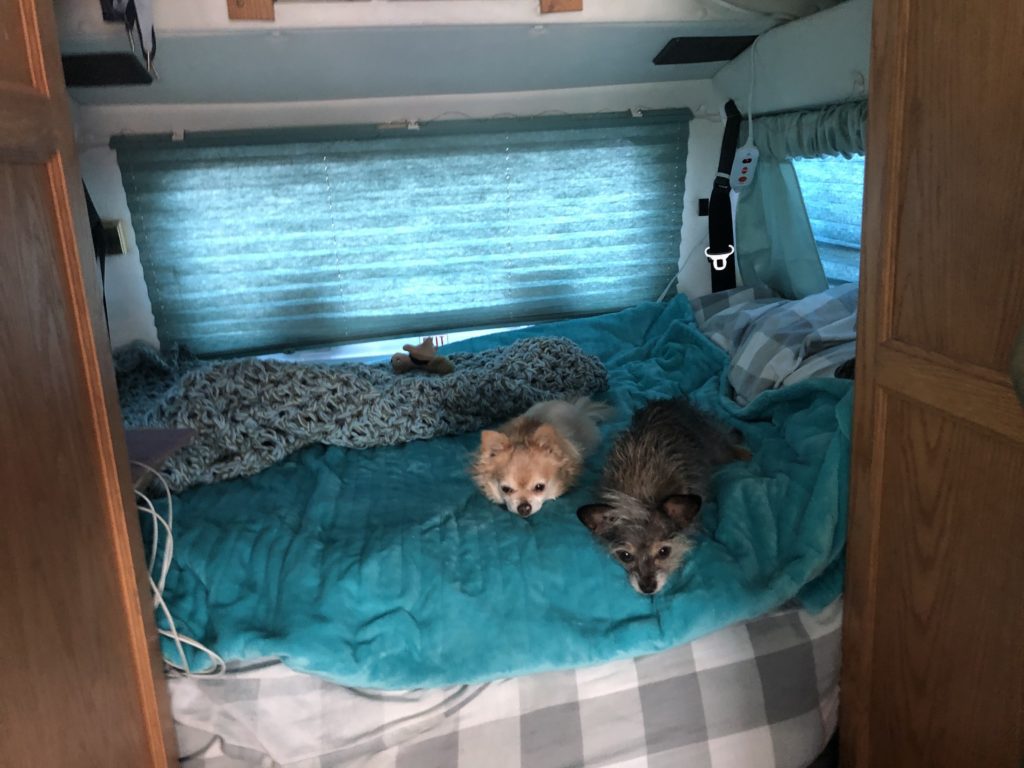
You want to keep the blanket flat when you are using it, overlapping the heating coils can cause it to overheat. I’ve never had any problems but I do my best to keep it as flat as possible. I power this cozy little bed warmer with my Jackery 500, read my review of it here. Make sure to choose a blanket with a timer and heat controls. I set mine for an hour when I go to bed or I run it all night on level 1 if it’s pretty chilly out. I made sure to choose one that isn’t auto off, mine has a timer for as long as 8 hours. There are nights when I need it to run that long. For anyone living full-time van life or boondocking, I would never want to be without my Jackery/heated blanket combination. It happens to all of us that we have run out of propane in the middle of the night, it’s just a thing!!! If you have the blanket Jackery combination you won’t freeze to death! I also have a fairly simple smaller 12volt heated blanket that plugs into my lighter port on the dashboard. I use that one for cold days when my dogs are in the van alone. It gives me the peace of mind that my fur babies are warm and cozy while I “bring home the bacon”.
Feel free to comment with any questions. I’ve been doing this for a long time and I’m happy to chime in! I’d love for you to check out my post about choosing the right RV. I have been full-time in three very different types of Rig. I have thoughts on all of them.
below are links to all the items I think will help you out with winter RV living. Please note I do get a small kickback from these links but it doesn’t change the price you pay it does help to support the time and effort I put into these posts!
If you’re tired of talking about winter, check out my blog post on solar for your RV, lets talk about harnessing the power of the sun!
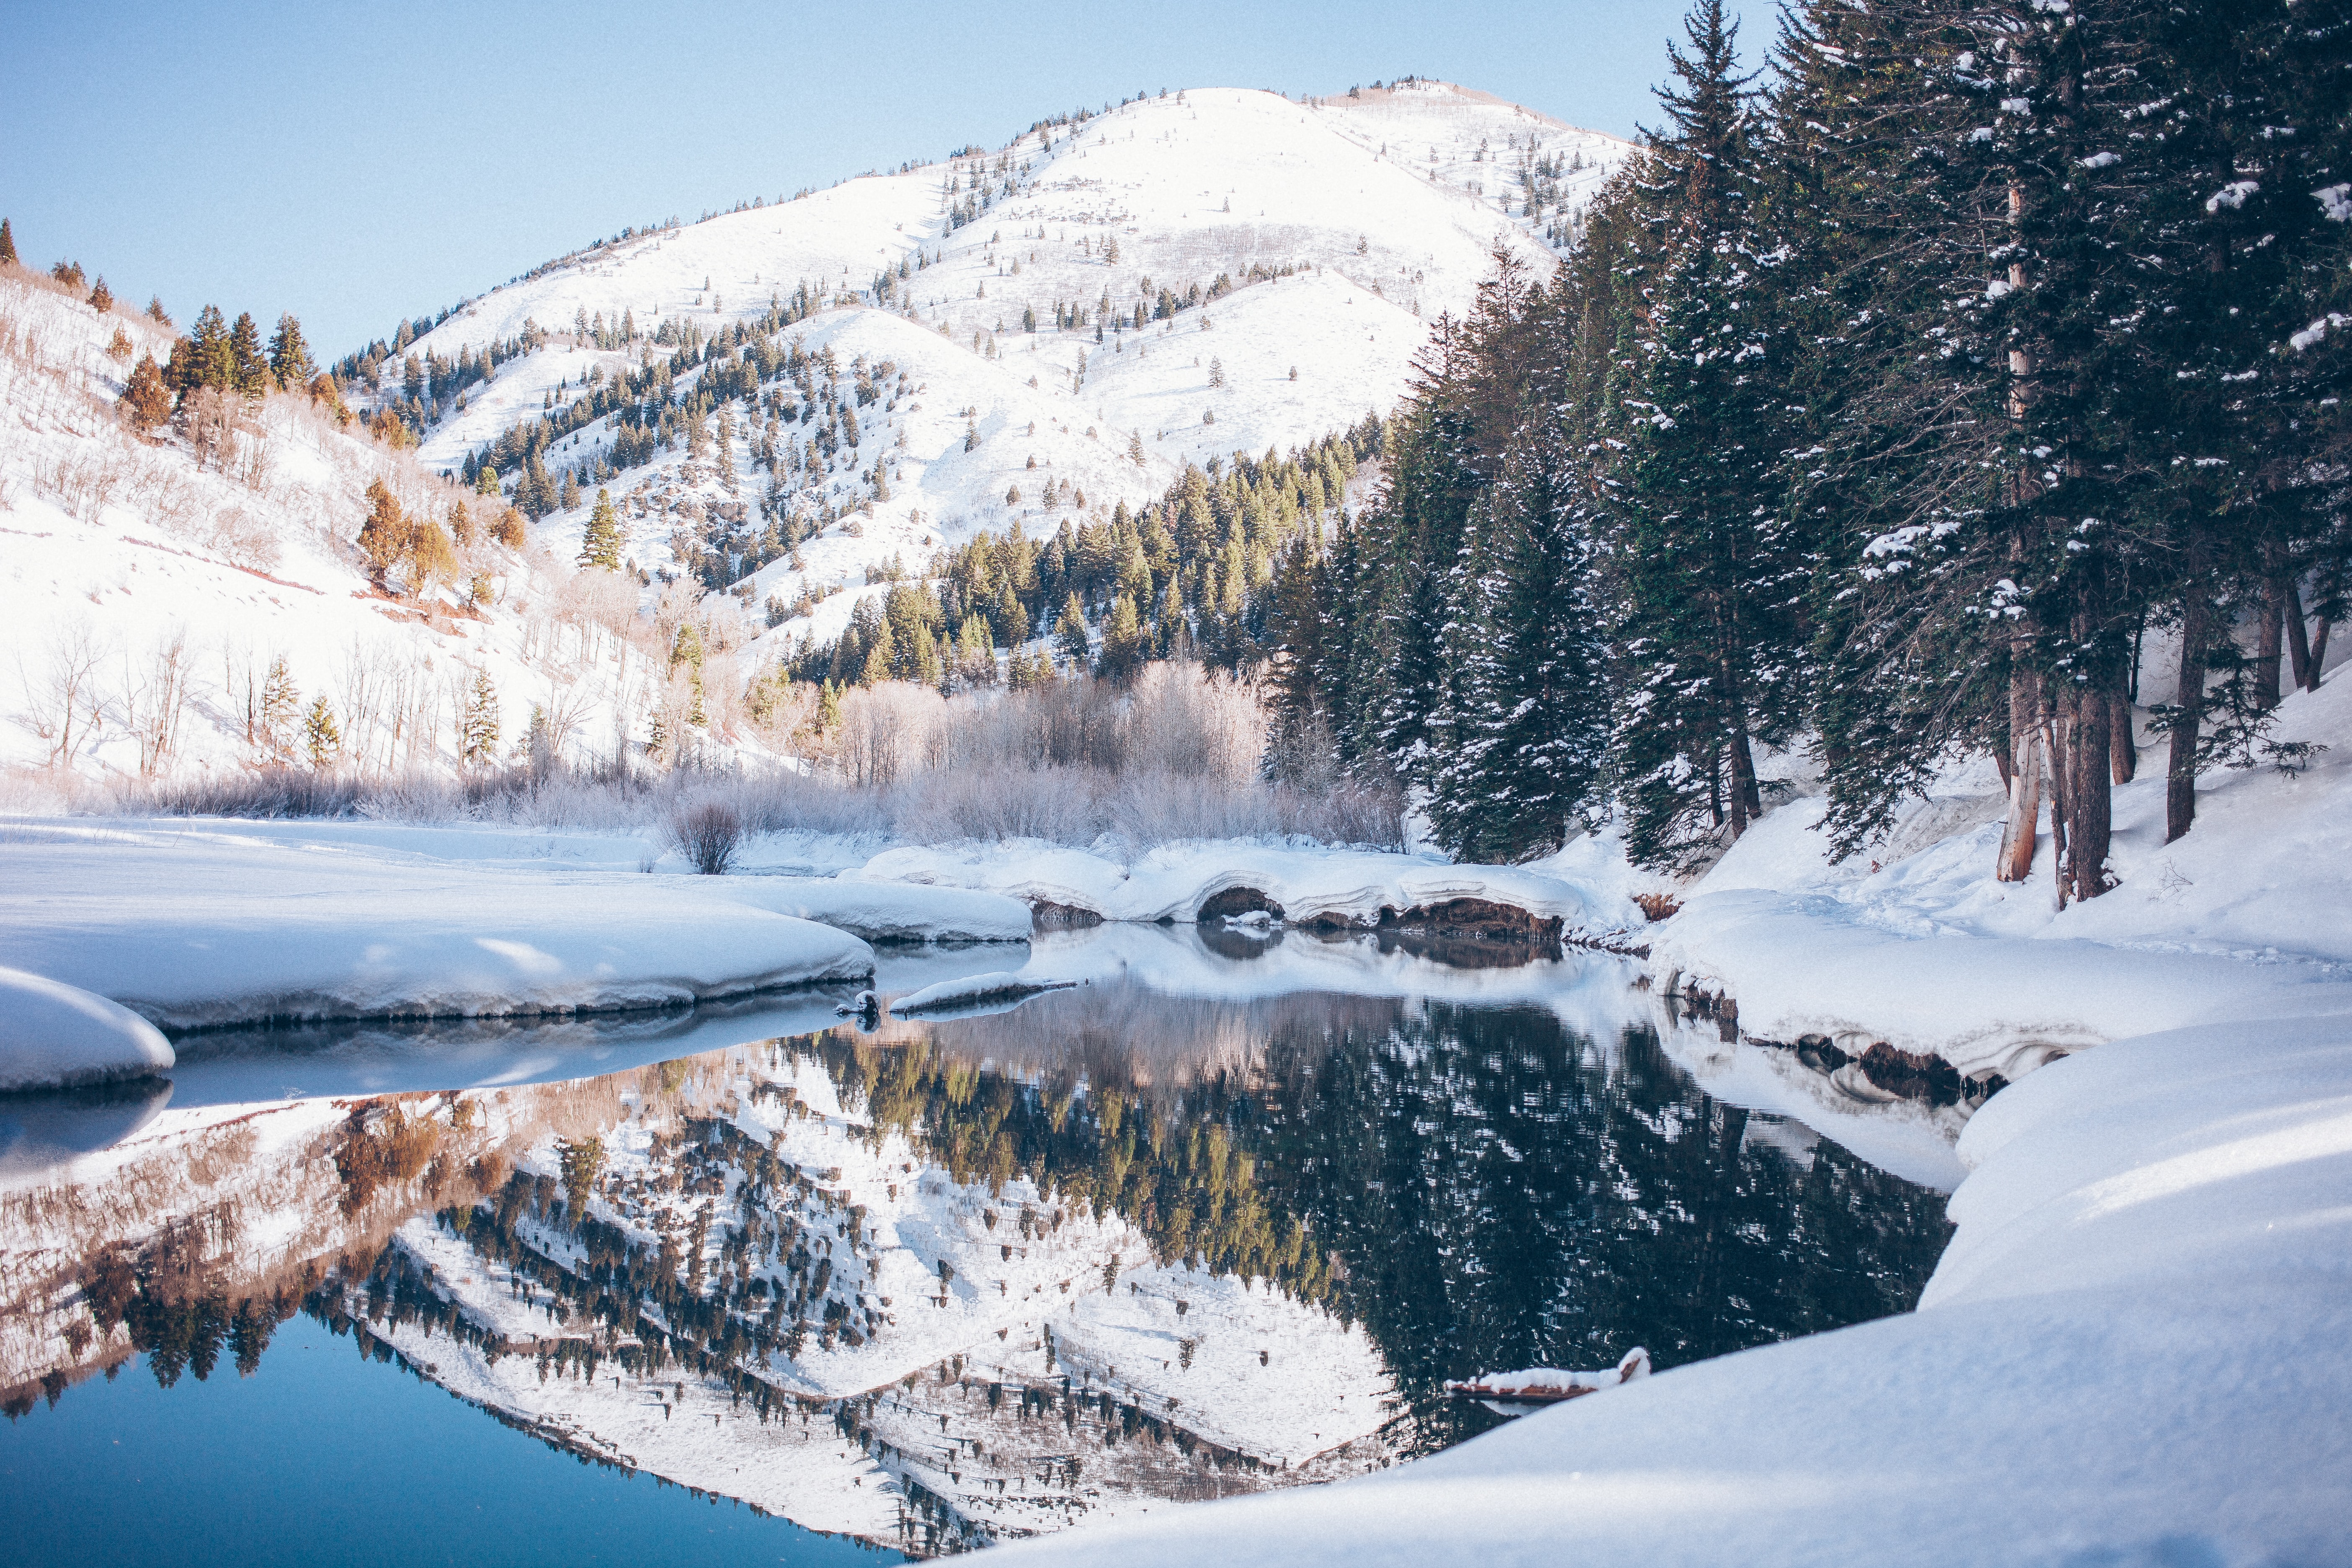
Living in your RV in the winter can be really hard, but it can also be beautiful and quiet and cozy. Being properly prepared is more than half the battle, it’s the whole battle.
https://she-said-it.com/2023/02/18/best-rv-coffee/ https://she-said-it.com/2023/02/16/what-is-the-best-heater-for-rv-living/ https://she-said-it.com/2023/02/13/best-dehumidifier-for-rv/
